
How to Tension Cable Railing for Safety and Compliance
Cable railing is now the go-to standard for North American decks, stairs, and balconies, prized for its minimalist look and unobstructed views. However, the system's integrity hinges on one technical detail: precise tensioning. Even the highest-grade stainless steel will fail to meet local building codes or safety expectations if it isn't tensioned correctly.
At Vionta Metal, our years of manufacturing and supplying cable railing, cable handrail, and cable balustrade systems have taught us that tensioning isn't just the final step—it’s the most critical one. From our factory’s perspective, getting the tension right is what prevents long-term sagging and ensures the structure remains maintenance-free. This guide cuts through the fluff to provide a step-by-step, field-tested approach to tensioning based on real-world engineering parameters.
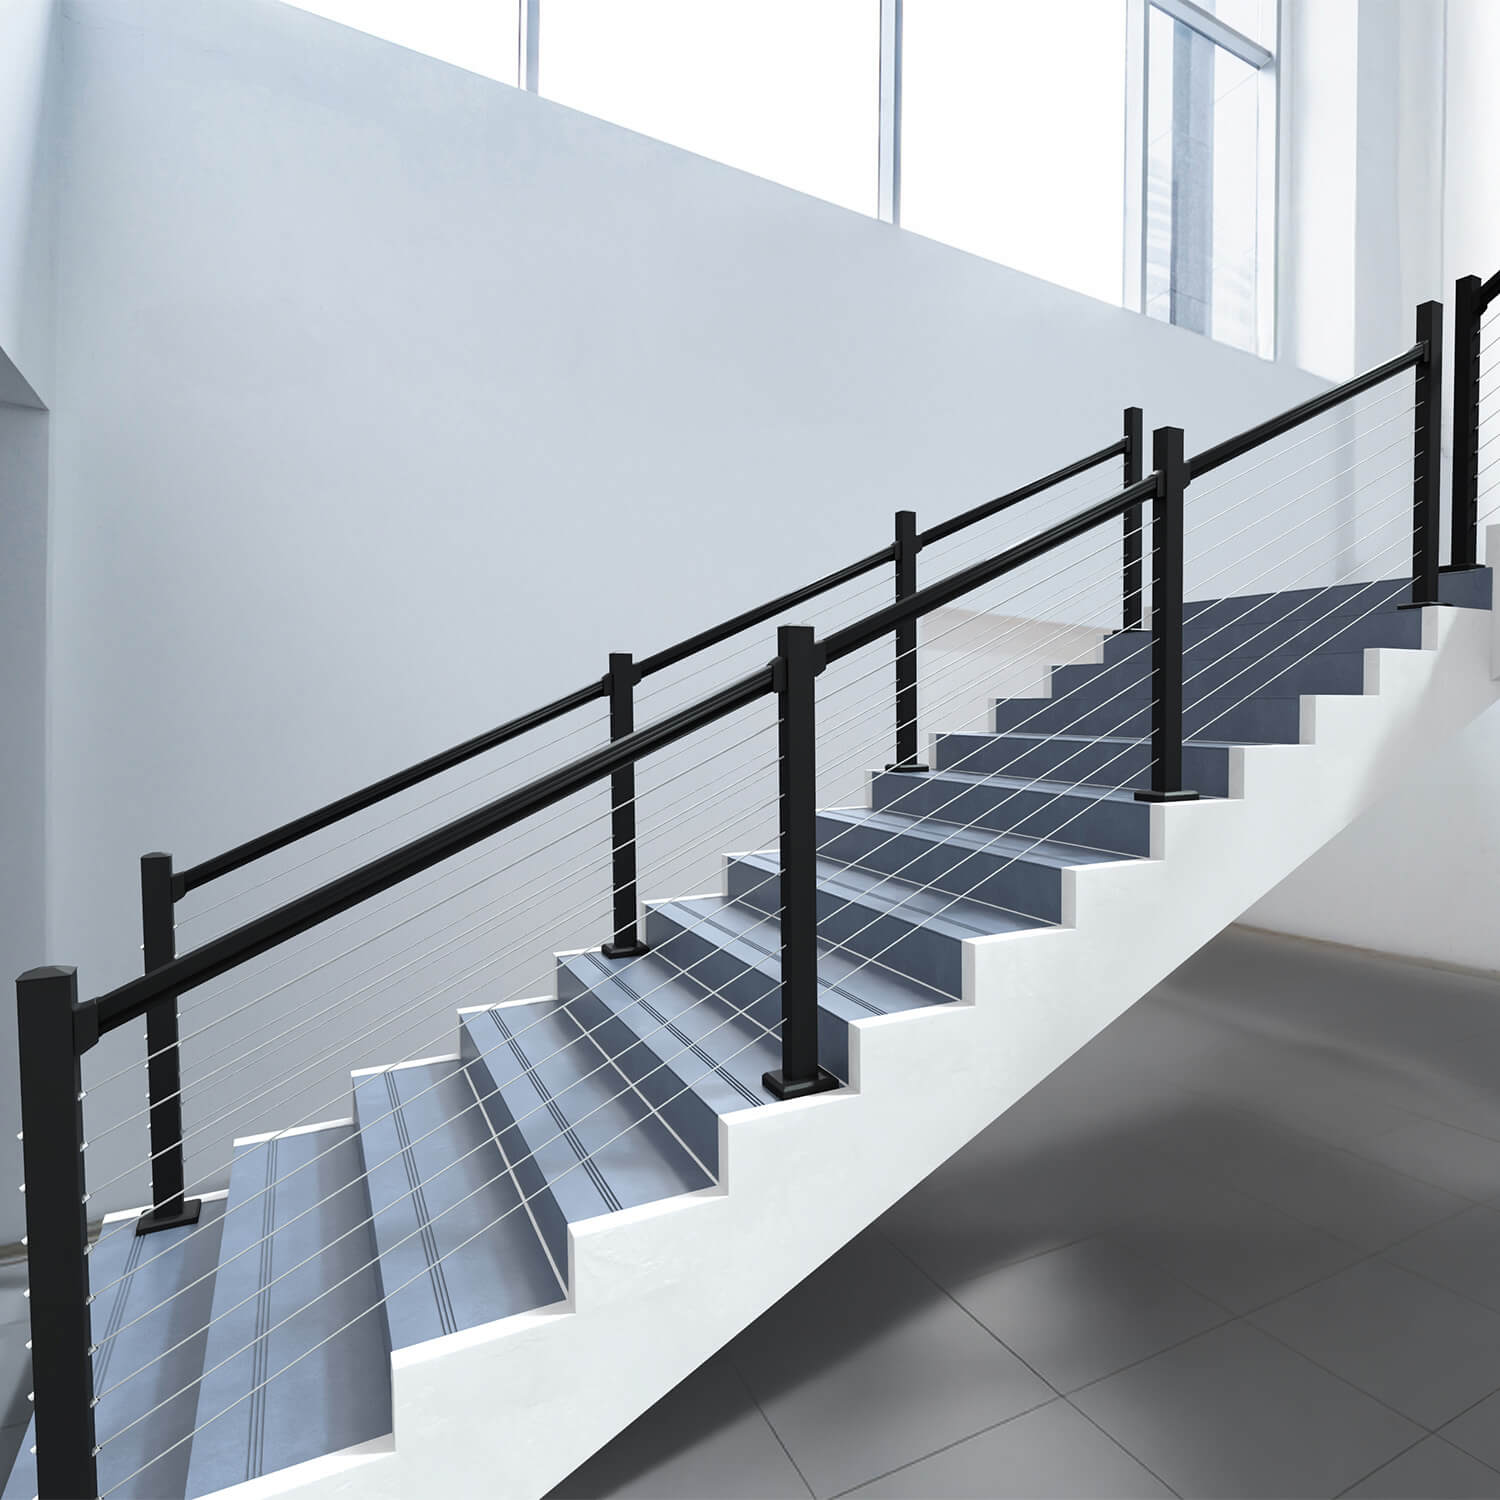
Table of Contents
- What Does "Tension" Actually Mean for Your Railing?
- Why Is Proper Cable Tension Critical for Safety and Compliance?
- How to Tension Cable Railing: A Step-by-Step Guide
- What Tools and Product Parameters Are Required for Proper Tensioning?
- How Should Cable Railing Be Re-Tensioned Over Time?
- Summary and Professional Installation Advice
- Frequently Asked Questions (FAQ)
What Does "Tension" Actually Mean for Your Railing?
In a cable railing system, tension is the precise pulling force required to keep stainless steel strands rigid against lateral pressure. It’s not just about making the lines look straight; it’s about deflection control. Proper tension ensures the cables won't spread apart when someone leans on them, keeping the system compliant with the "4-inch sphere rule" safety standard.
From our factory’s perspective, a cable handrail is a functional safety barrier, not just a design feature. We engineer our components to operate within specific "tension windows" based on the physics of the installation site.
Factors That Dictate Tension Requirements
- Cable Diameter: 1/8" is our standard, but 3/16" or 1/4" requires significantly more torque to achieve the same rigidity.
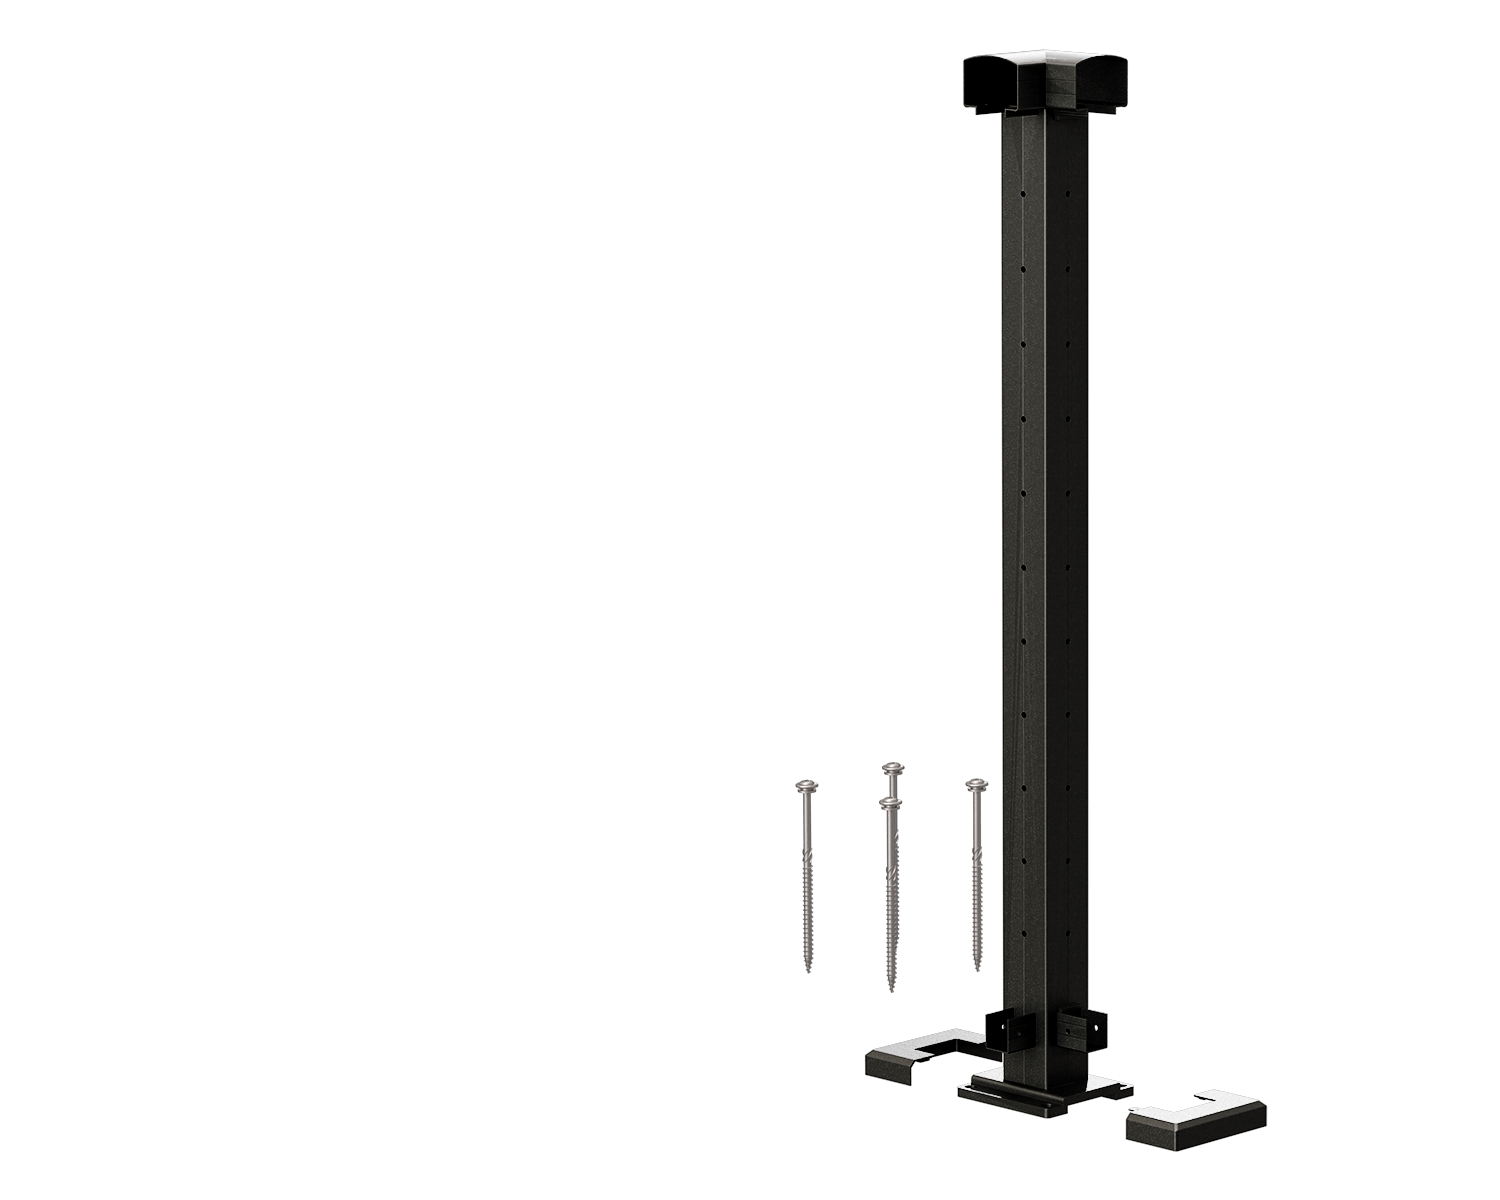
- Post Material: Stainless steel or carbon steel posts can handle higher tension loads than aluminum without bowing.
- Post Spacing: Spans over 48 inches drastically increase the risk of cable deflection, requiring tighter tension or intermediate pickets.
- Hardware Type: The "take-up" capacity of your turnbuckles or swage studs determines how much slack you can actually remove.
A successful cable balustrade relies on uniform load distribution. If you over-crank the top wire but leave the middle lines soft, you risk bowing your end posts and causing long-term metal fatigue. Our goal at Vionta Metal is to help you achieve "system-level" tension—where every strand works together to create a rock-solid barrier.
Why Is Proper Cable Tension Critical for Safety and Compliance?
Most system failures in the field aren't caused by faulty steel—they’re caused by inconsistent tension. At Vionta Metal, our laboratory stress tests prove that even a minor tension imbalance can compromise the structural integrity of a long-span railing. Correct tension is what turns a series of individual wires into a rigid, unified safety barrier.
Load Distribution vs. Cable Deflection
When someone leans or falls against a cable handrail, the system must immediately redirect that horizontal force into the posts and anchors. Under-tensioned cables act like rubber bands; they deflect easily, creating dangerous gaps. Conversely, cranking the tension too high puts unnecessary "pre-load" on your fittings and end posts, which can lead to snapped threads or bowed uprights over time.
Meeting the "Real-World" Building Code
Building inspectors test your cable balustrade to ensure it consistently meets safety mandates:
- The 4-Inch Rule: Cables must be tight enough that a 4-inch sphere cannot be pushed through the gap under a specific load.
- Rigidity Standards: Guardrails must withstand a 200lb concentrated load without excessive post deflection.
- Environmental Fluctuations: Our factory's global experience shows that initial tensioning must account for thermal expansion. Whether in coastal humidity or desert heat, the tension should stay within a "safe window."
How to Tension Cable Railing: A Step-by-Step Guide
Tensioning is a precise sequence, not a one-time pull. To ensure your system remains rigid without warping your framework, our factory recommends this process:
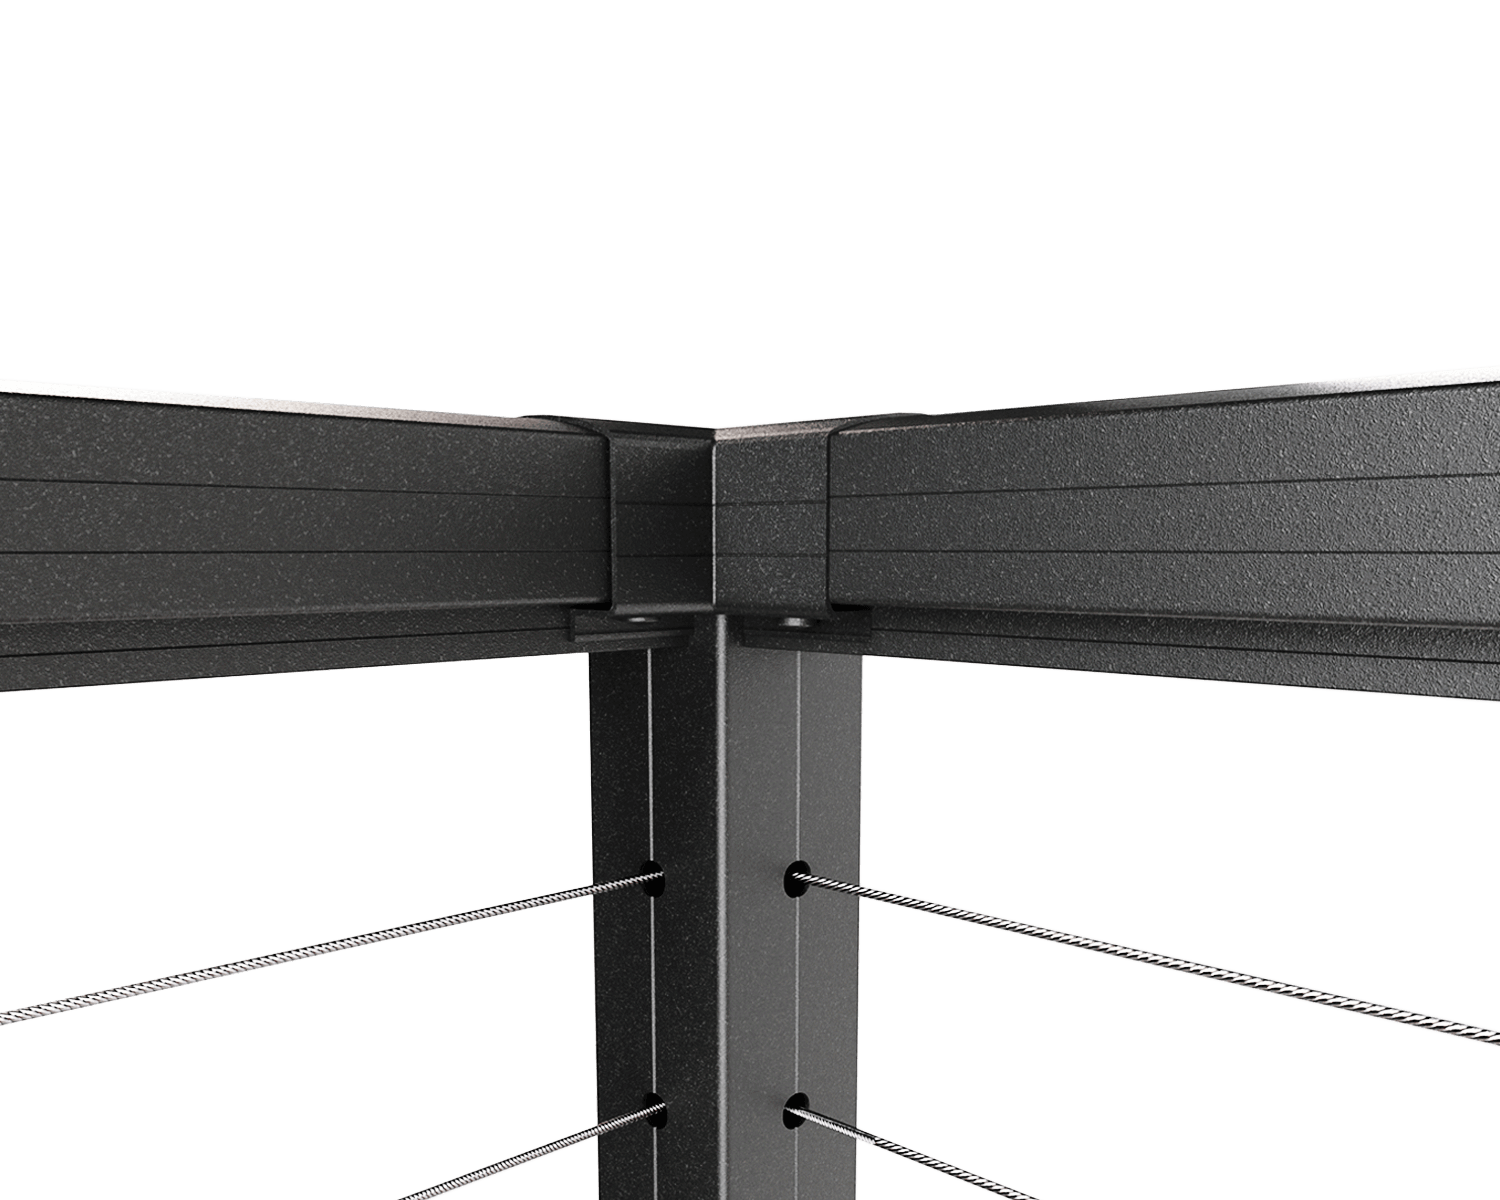
Step 1: Structural Framework Audit
Before running a single foot of cable railing, ensure all end and corner posts are rock-solid. If your base bolts are loose or your posts aren't plumb, the tensioning process will pull the posts inward, leading to immediate sagging. Double-check that all mounting hardware is fully torqued into the structural framing.
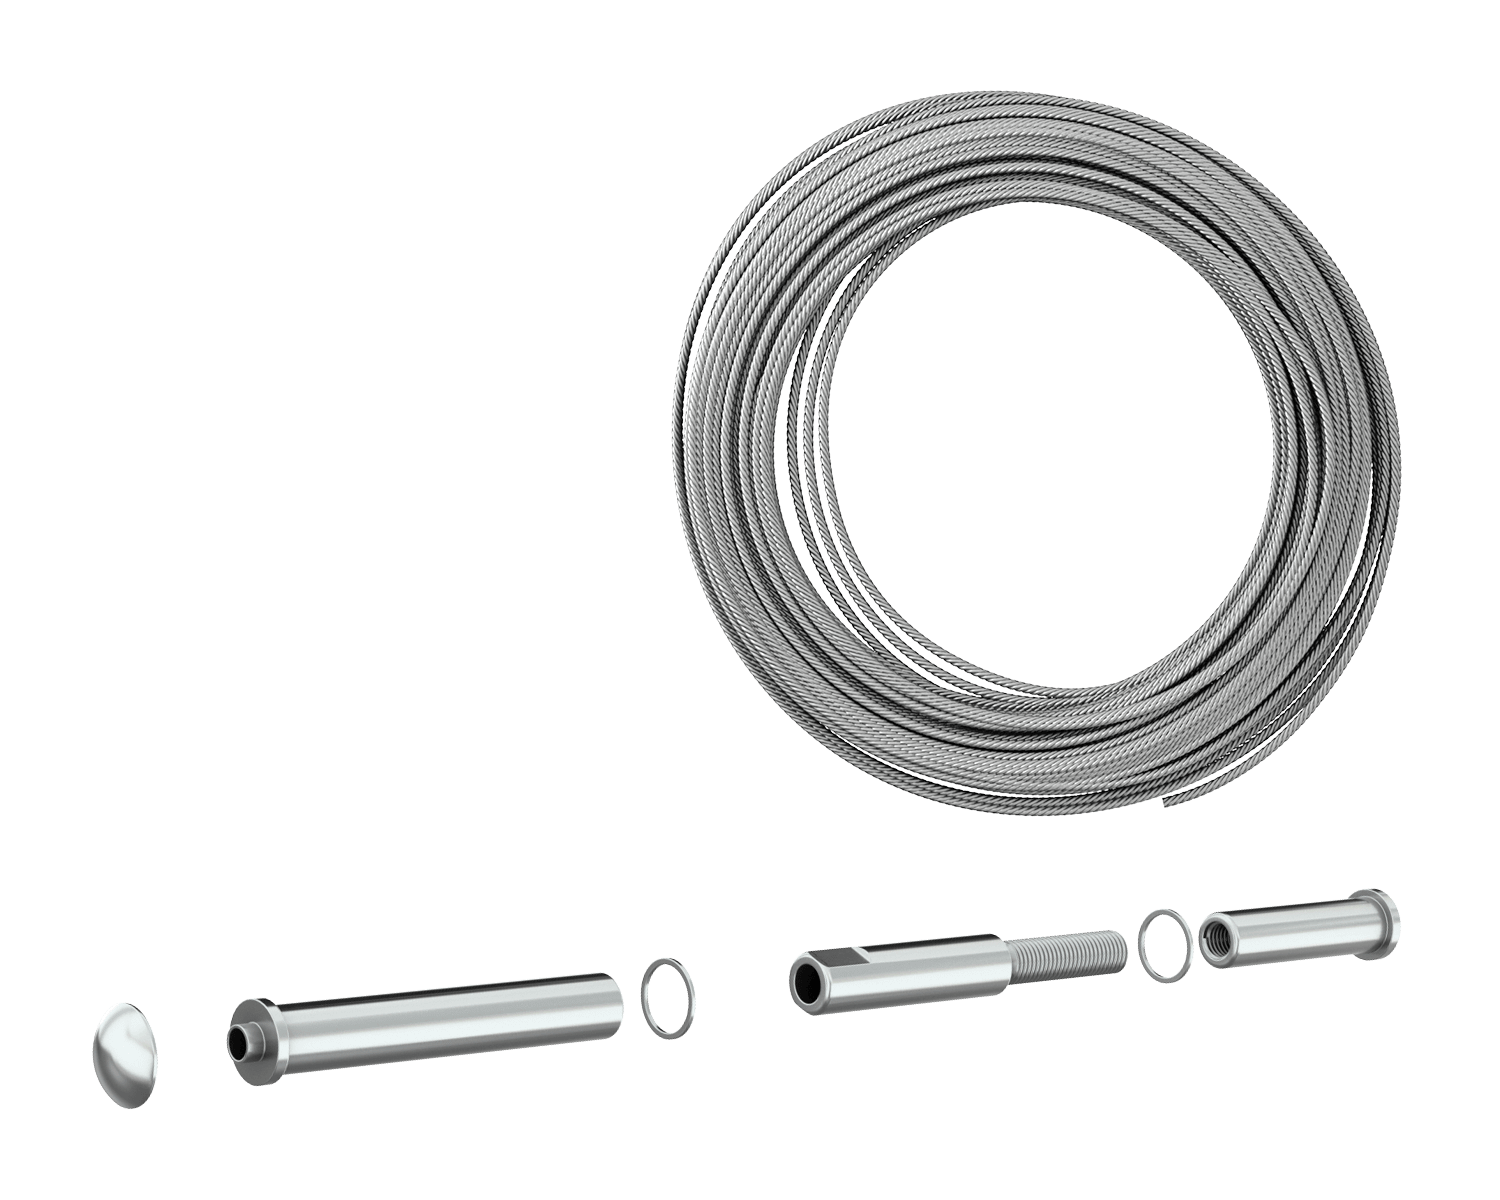
Step 2: Threading and Hand-Set Anchoring
Run your stainless steel cable through the intermediate posts and seat them into the terminal fittings. Pull the slack out by hand only. Do not use tools to apply tension until every row of cable in that section has been installed and seated.
Step 3: The "Inside-Out" Tensioning Sequence
Never fully tighten a single line at once. To prevent the "bowing" effect on your posts, apply tension incrementally. Start with the center rows (e.g., rows 5 and 6 in a 10-row system) and work your way out toward the top and bottom. Tighten each line until the slack is gone, then do a second pass to reach final tension.
Step 4: Deflection Testing and Fine-Tuning
Use the professional "push test": apply firm pressure to the center of the cable span. If you can move the cable enough to allow a 4-inch sphere to pass through, it needs more tension. Sight down the line from the end post; all cables must be perfectly parallel with zero "wave" or dip.
Step 5: Lock-Off and Settlement Check
Engage your locking nuts to prevent vibration from loosening the system. Ensure at least 2/3 of the tensioner’s threads are engaged. Stainless steel naturally settles; our factory recommends a quick re-tensioning seven days after installation.
What Tools and Product Parameters Are Required for Proper Tensioning?
Using the correct tools and understanding product parameters ensures consistent results. Our factory designs cable railing systems to work with standard professional tools, reducing installation complexity for our Vionta Metal partners.
| Requirement Category | Details and Specifications |
| Recommended Tools | Open-end or socket wrenches, specialized cable cutters (shear-action), level, and protective gloves. |
| Cable Material | Marine-grade Stainless Steel 316 or 304. |
| Cable Diameter Options | 1/8 inch (standard), 3/16 inch, or 1/4 inch (heavy duty). |
| Post Spacing | Standard 36 to 48 inches to prevent excessive deflection. |
| Finish Options | Brushed, Polished, or Powder Coated to match architectural styles. |
How Should Cable Railing Be Re-Tensioned Over Time?
Cable railing systems are dynamic structures. Environmental factors such as temperature changes, building movement, and material settling can affect tension over time. Periodic inspection is part of responsible ownership.
When to Check Your Cable Handrail
- Three to six months after initial installation to account for material seating.
- After significant seasonal temperature changes (summer to winter).
- During routine property maintenance or safety inspections.
Our factory recommends light re-tensioning rather than aggressive adjustments. Small, uniform turns across all cables help maintain system balance and extend the life of your hardware.
Summary and Professional Installation Advice
Tensioning cable railing correctly is essential for safety, aesthetics, and long-term performance. A well-tensioned cable balustrade enhances the value of any space while meeting regulatory requirements. From our factory perspective, successful installations follow a disciplined process, respect material limits, and prioritize system balance.
Vionta Metal supplies cable railing systems engineered for reliability and ease of installation. Our experience across diverse projects allows us to support builders, contractors, and designers with consistent quality and technical clarity.
Are you looking for a reliable manufacturing partner for your next project? At our factory, we provide engineering-grade components and customized support for B2B buyers worldwide. Contact our factory team today to discuss your next cable handrail or cable balustrade project and receive tailored technical support. Let our expertise help you deliver a professional, code-compliant result.
Frequently Asked Questions (FAQ)
How tight should cable railing be?
Cable railing should be tight enough to prevent noticeable sag and meet the 4-inch sphere spacing requirement, but not so tight that posts or fittings are under excessive stress. Balanced tension is the key.
Can cable railing be over-tensioned?
Yes, over-tensioning can damage internal threads, deform metal posts, and reduce the system's lifespan. Our factory guidelines emphasize gradual, even tensioning to avoid structural fatigue.
Do cable railings need re-tensioning?
Most systems require minor re-tensioning after the initial "settling" period. Periodic checks ensure the cables remain safe and visually parallel over many years.
Does cable diameter affect tension requirements?
Larger diameter cables resist deflection more effectively, allowing for slightly lower tension levels over long spans, whereas smaller cables require more precise control to stay rigid.
Is professional installation required for cable handrail systems?
While experienced DIYers can succeed, professional installation is recommended for commercial projects to ensure full compliance with safety standards and optimal performance under load.
Related News
- How Can Glass Railings Transform Safety, Style, and Property Value?
- Are Aluminum Pergolas Safe in Strong Winds?
- What is the Lifespan of Cable Deck Railing?
- How Are Glass Railings Transforming Modern Architecture?
- How Does Aluminum Retractable Pergola Transform Outdoor Spaces?
- How Strong Is Vinyl Railing? 5 Ways to Improve Strength and Durability
Leave me a message


